This article will cover the GGMS Account Audit contents with an overview of key points and recommendations for optimal performance.
* This indicates that a section may have changes that can be made at the agent level.
Duplicate Phone Number Filter*
Dialer & Email Connections
This section covers our recommendations for connecting your most important communication tools to ensure you never miss out on an opportunity to connect to your client and leads. As the account administrator, you can navigate using your headers on the top left by clicking Users > Users. This leads you to the page where you'll find a list of users linked to your business, the role they are assigned, and which communication tools they have connected or still need to connect. A blue icon indicates that the service is connected and a gray icon means this connection is missing.
Once on this page if you click any user's connection icons, regardless of whether it is active or not, you'll be brought to the setup page for that user. You can go to the Connect Email tab or Voice and Text to set up their services but some options may not allow you to change things without first logging into the individual's account.
If a user that is not an account administrator needs to find these settings to connect one of the tools, they can click on their Profile Picture on the top right and then click on Edit Profile. This will bring them to the page where they can connect their email, add a dialer number, set up their incoming voice message, and manage their outgoing voice messages.
We recommend that users have all three connections enabled so that they can be reached at any time and never miss any opportunities that come their way.
Verify SendGrid Integration is Active
SendGrid significantly increases email deliverability and open rates. It is a Mass Email Integration service that allows us to reach a large number of your leads via email without the risk of violating your terms of service with your email server or provider, which can result in a suspension of services.
The cost is $90/mo and you can contact Sierra Interactive so that they can assist you with enabling the integration on your account. To begin the setup you can navigate to the gear icon ⚙️ and click Integrations.
To contact Sierra Interactive you can use their email address: support@sierrainteractive.com.
During the SendGrid setup, ensure that Utilize for All Marketing Emails and Utilize for All Listing Alerts are enabled to fully benefit from the integration. Once connected, you will see a green active overlay on the top left of the SendGrid box, as pictured below.
If you have already connected your SendGrid account, please be sure to click on the SendGrid icon to ensure that your primary contact email is set to a company email address.
Global Site Settings
This section covers settings that are enabled to enhance the reach of your leads across your entire website and gives you a variety of permission options to set for your agents. To access these settings, navigate to the gear icon ⚙️ and click Global Site Settings.
For more detailed information and instructions, please visit our Knowledge Base article titled Global Site Settings here.
- Lead Distribution
- Agent Permissions
- Lead Opt-in / Consent
- Registration Requirements
- Phone Number Requirements
- Denote Required Fields
Under the Lead Distribution settings, we've enabled lead registration for all Contract Form Types so that anyone who shows interest in your information will become a potential lead. This includes the Careers section which can help you expand your business with new agents.
In the Agent Permissions section, you may notice some changes with the toggles that are enabled. We find enabling these specific permissions allows your agents to optimally manage their leads and ensure all opportunities are worked appropriately.
We did not make any changes to the Lead Opt-In / Consent section, but we do suggest that you consider your settings for the second toggle, which refers to how you as a business would like to handle the “reply STOP to cancel.” verbiage in text communications with your leads.

The verbiage is 100% customizable and can be turned off altogether. We have seen better lead engagement results when this is disabled but the decision to disable this feature is up to you and your business.
The Registration Requirement section gives you the ability to choose how you would like to handle site registration for Pay-Per-Click Traffic and All Other Traffic. Our team pre-configured these settings to 0 to maximize on-site lead conversions. This requires registration to access listing information on your site during their first visit, which prompts lead generation immediately.
The only change made in the Phone Number Requirement section is to enable Allow International Phone Numbers which we have turned on for you.
We have turned off the option to Denote Required Fields with an asterisk, as some clients feel they receive more and more accurate information by not displaying these.
For more detailed information and instructions, please visit our Knowledge Base article titled Global Site Settings here.
Account Contact Info
We are utilizing merge fields in our automated messages to your leads. This page contains the field called Office Name which will identify your company as a whole.
You'll want to make sure that the text in Office Name name would make sense in the following statement: “Hello [Lead], this is [Agent_Name] with [Office_Name].”
You will also want to load a company logo and matching header on this page so that every landing page that is viewed will provide exposure to your company and brand.
Navigate to the gear icon ⚙️ and click Account Contact Info.
For more detailed information and instructions, please visit our Knowledge Base article titled Account Contact Info here.
Dialer Settings
Our system requires at least one role number for Buyer's Agents and one role number for Listing Agents. You can add these by navigating to the gear icon ⚙️ and clicking Dialer Settings and then navigating to the Role Numbers tab.
On this page, you'll also need to enable your Hiya Integration. The Hiya Caller ID (2-24 characters) name should match or be a close variation to the office name found in the account contact info.
Auto Responders
GGMS+ handles most auto-responder situations natively so you will not need to do anything on this page. The only two that recommend having enabled are the emails for IDX Registration Form and Manually Added Leads Confirmation.
Our team pre-configured these settings.
To view these settings, navigate to the gear icon ⚙️and click Auto Responders.
You do not need to make any changes to this page.
Action Plan Settings
This area allows you to control blackout dates that prevent automated and auto-executed action plans from being executed. Our team has pre-configured the current system blackout dates and set them to Don't Send.
You can add additional dates by navigating to Leads > Action Plans > Action Plan Settings and then clicking + Add New Date on the top right of the page. You can change the toggle to Send or delete your added Blackout Date at any time.
My Notification Settings
These settings allow you to control how Sierra Interactive will notify you when certain actions occur. You can receive notifications for most via email, through text message, and in the mobile app. For some leads, you can also have notifications sent to an additional email address.
If you, or your team, have not installed the Sierra Interactive mobile app we recommend adopting the technology. Our team pre-configured your notification settings to include the behavioral tags and turned on Notify me in the mobile app for all notification types.
A behavioral notification happens when a lead takes a certain action on your website.
Our system catches behavioral trigger tags and automatically engages with leads using behavioral messaging.
To make changes in how you are notified or adjust your notification schedule, you can navigate to this page by clicking Profile Picture > My Notification Settings.
Account Notification Settings
We have made some changes to the behavioral notification type variables in this section so that they match the behavioral tags that we have installed for you. To see the changes we've made and your other setting options, navigate to Profile Picture > My Notification Settings > Account Notification Settings.
Update Searches
Two new searches have been added with your selected area parameters:
- General Property Search
- General Price Reduction Property Search
These searches will be utilized on your landing pages and lead routing, and have been set to include the information you provided in your Onboarding Questionnaire. If you need to view this information you can navigate to Saved Searches > Saved Searches and then type in General in the search to filter these searches.
Update Price Range Widgets
On each of the landing pages below, a widget has been installed to provide visitors with search pricing parameters based on your market's average price, which you was included in your Onboarding Questionnaire.
You can view the landing pages to verify the price range fits your market by navigating to Content > Content Pages > Sections > Landing Page.
- Just Listed
- Price Reductions
- Welcome
If the price ranges need adjustments see the training page for assistance.
Lead Routing Rules
We have pre-configured a variety of Lead Routing Rules that will provide an automated process based on the source the leads are obtained from. Each rule has been automatically configured with one Agent assigned and can be adjusted to include additional agents as needed. If you have a Preferred Lender, you can assign them to each of these rules as well.
To change the assigned agents or add a lender to your lead routing rules, you can navigate to the page by clicking Leads > Lead Routing. For additional information or help navigating these settings please see the training page for assistance.
Dual Assigned Agents
Our team has created several search filters that will now appear on your lead dashboard, which you can see at the top of the page by navigating to Leads > Leads Dashboard.
One of these new filters is called Dual Assigned Agents: Choose Buyer & Seller Only and was created to help you keep your leads organized. The leads listed under this filter have been assigned as both a buyer and a seller lead.
Due to the way our system works, each of these leads needs to be assigned to just one type of lead. Our recommendation is to assign the lead to the number that was used most frequently in contacting them, which could be either the dialer number for Buyer's Agents or the dialer number for Listing Agents.
You may also decide that the lead should be assigned based on where they should be receiving the bulk of their communication. Each lead will still receive both Buyer and Seller information, however, based on the assigned agent type the balance of information will look like this:
- Buyer leads receive 60% buyer communication and 40% seller communication.
- Seller leads receive 60% seller communication and 40% buyer communication.
To find out more about this filter and others please see the training page for assistance.
Potential Duplicate Contacts Filter
Our team has created several search filters that will now appear on your lead dashboard, which you can see at the top of the page by navigating to Leads > Leads Dashboard.
One of these new filters is called Potential Duplicate Contacts: Same Phone Number and was created to help you keep your leads organized. The list will show you multiple leads with the same phone number that have other mismatched information, such as the name, email, address, etc.
To retain the lead with the best information you'll need to first review this list and find leads with matching phone numbers. Select both leads using the checkboxes on the left and then from the Bulk Actions with 2 selected drop-down boxes, select Merge Two Leads. The following window will provide you the opportunity to select the best information from each mismatched lead to merge into one complete lead.
To find out more about this filter and others please see the training page for assistance.
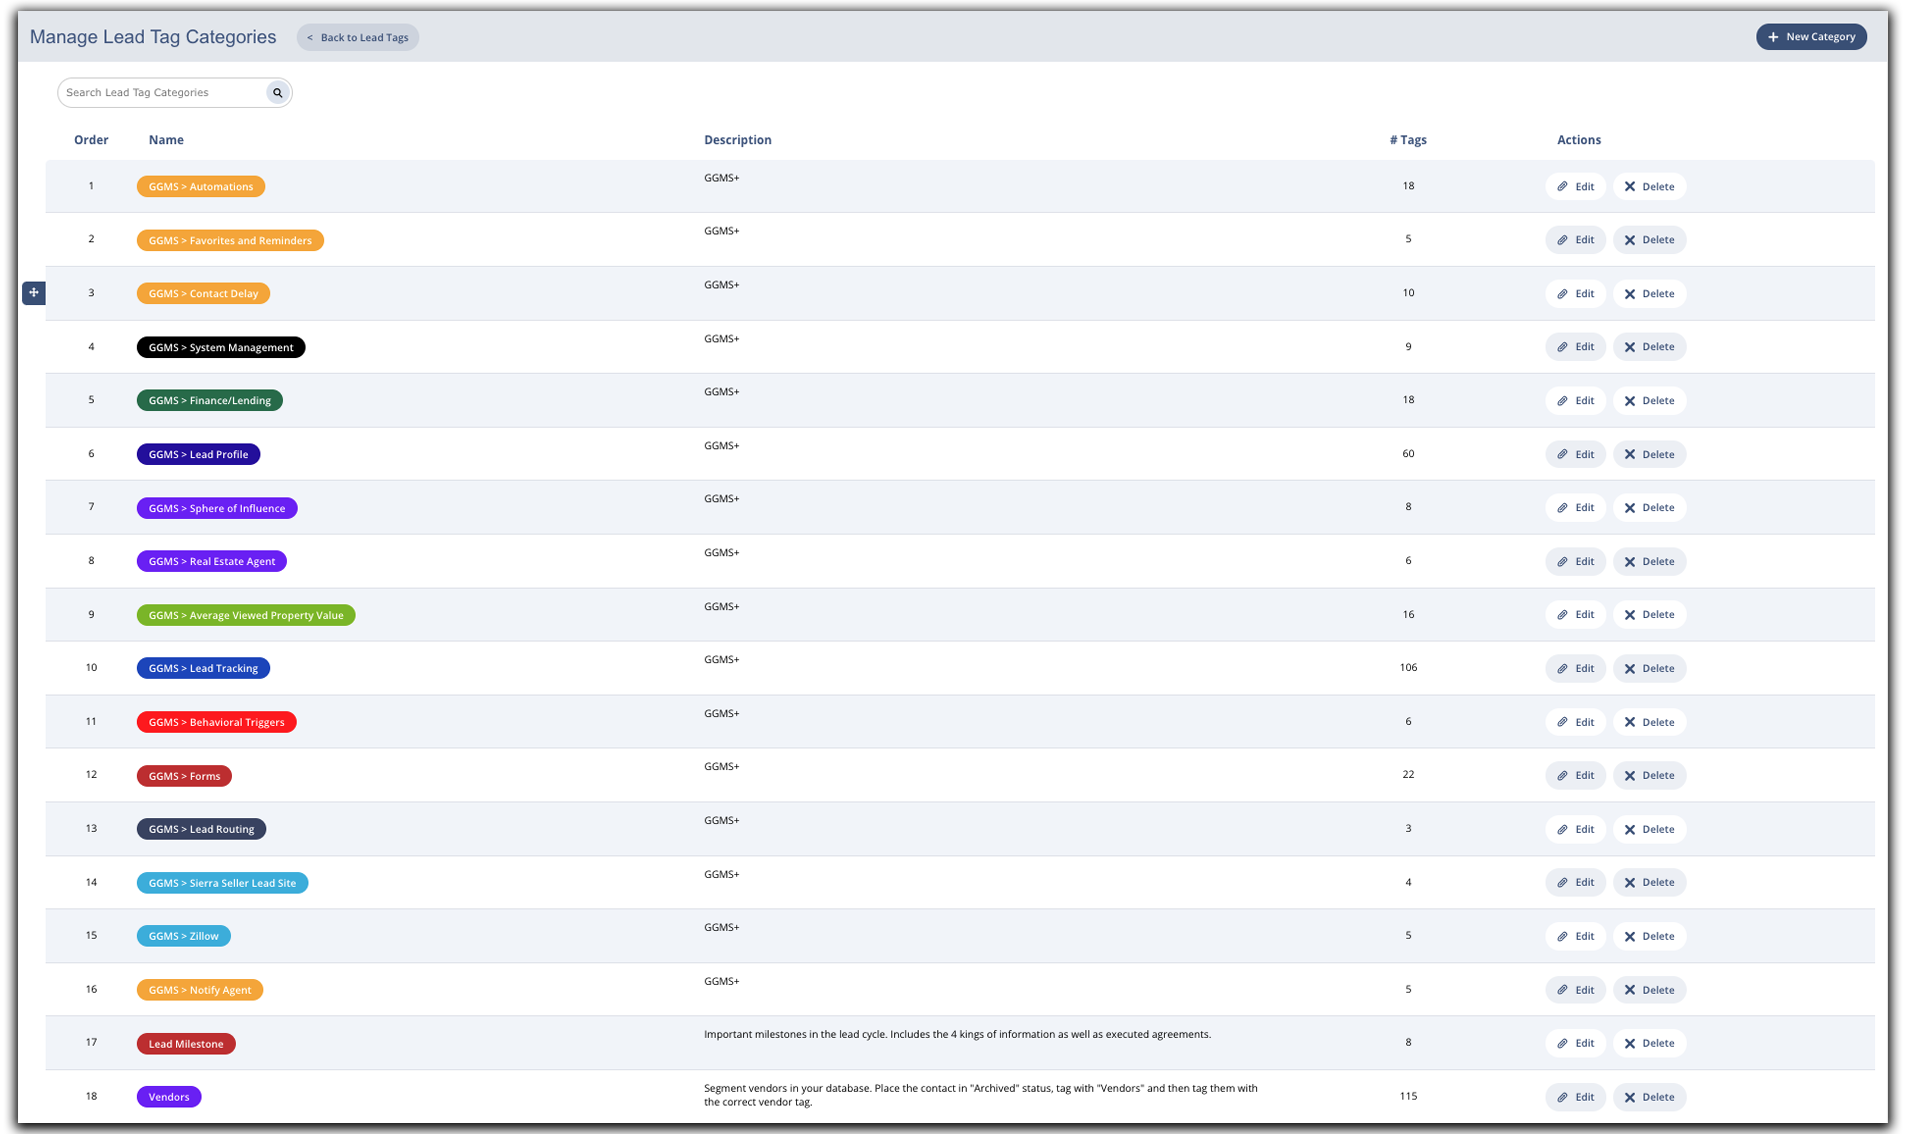
Lead Tags
Our team has cultivated several new tags to assign the best actions to your leads. This may make some of your existing tags redundant or obsolete. Please review any existing tags to delete the ones no longer needed. Navigate to Leads > Lead Tags > Manage Tags.
Make sure you leave all GGMS tags as they are, as shown below.
For more detailed information and instructions, please visit our Knowledge Base article titled Lead Tags here.